Dermi Atlas CompanionCapture aligned to a prior photo.
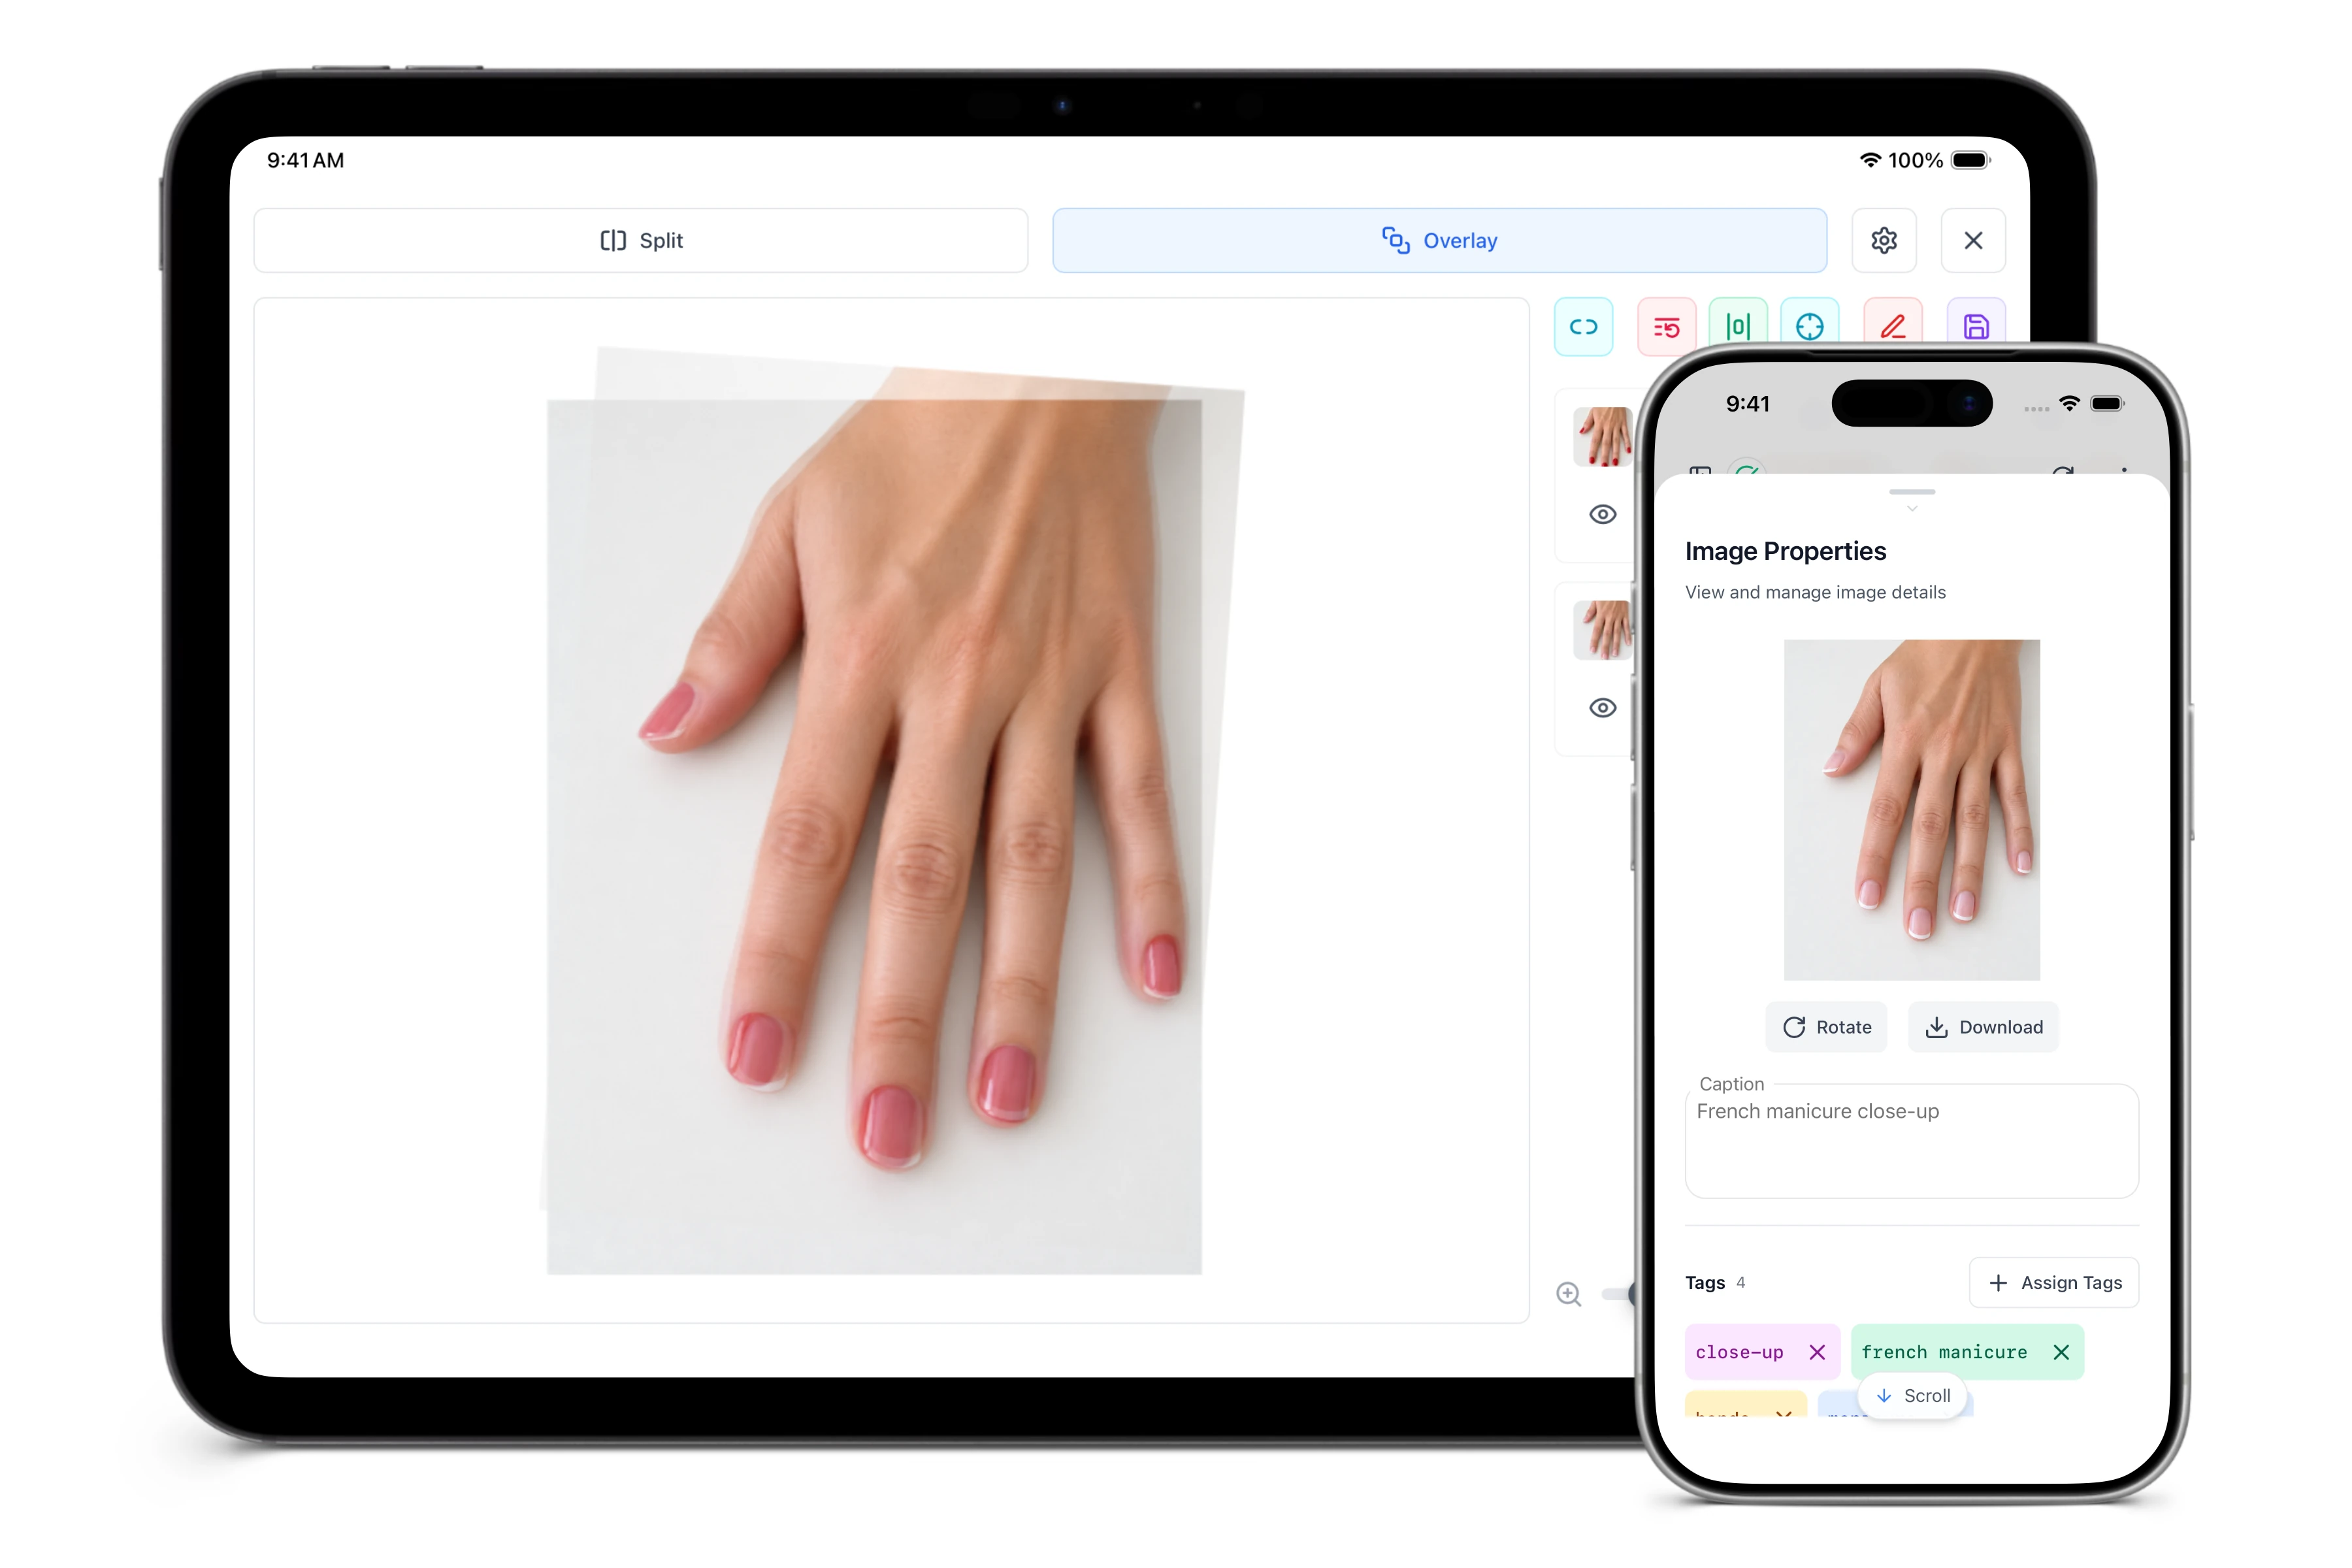
Illustrative demo with synthetic data. Learn more
Three steps from reference to record
Each new photo is lined up with a prior reference, so visits compare side by side.
- 01
Pick a reference in Atlas
Choose the prior image to match from the patient record.
- 02
Line up the live overlay
The reference appears as an outline or the full image, over the live camera.
- 03
Capture and return
The aligned photo goes to the patient record, not the device photo library.
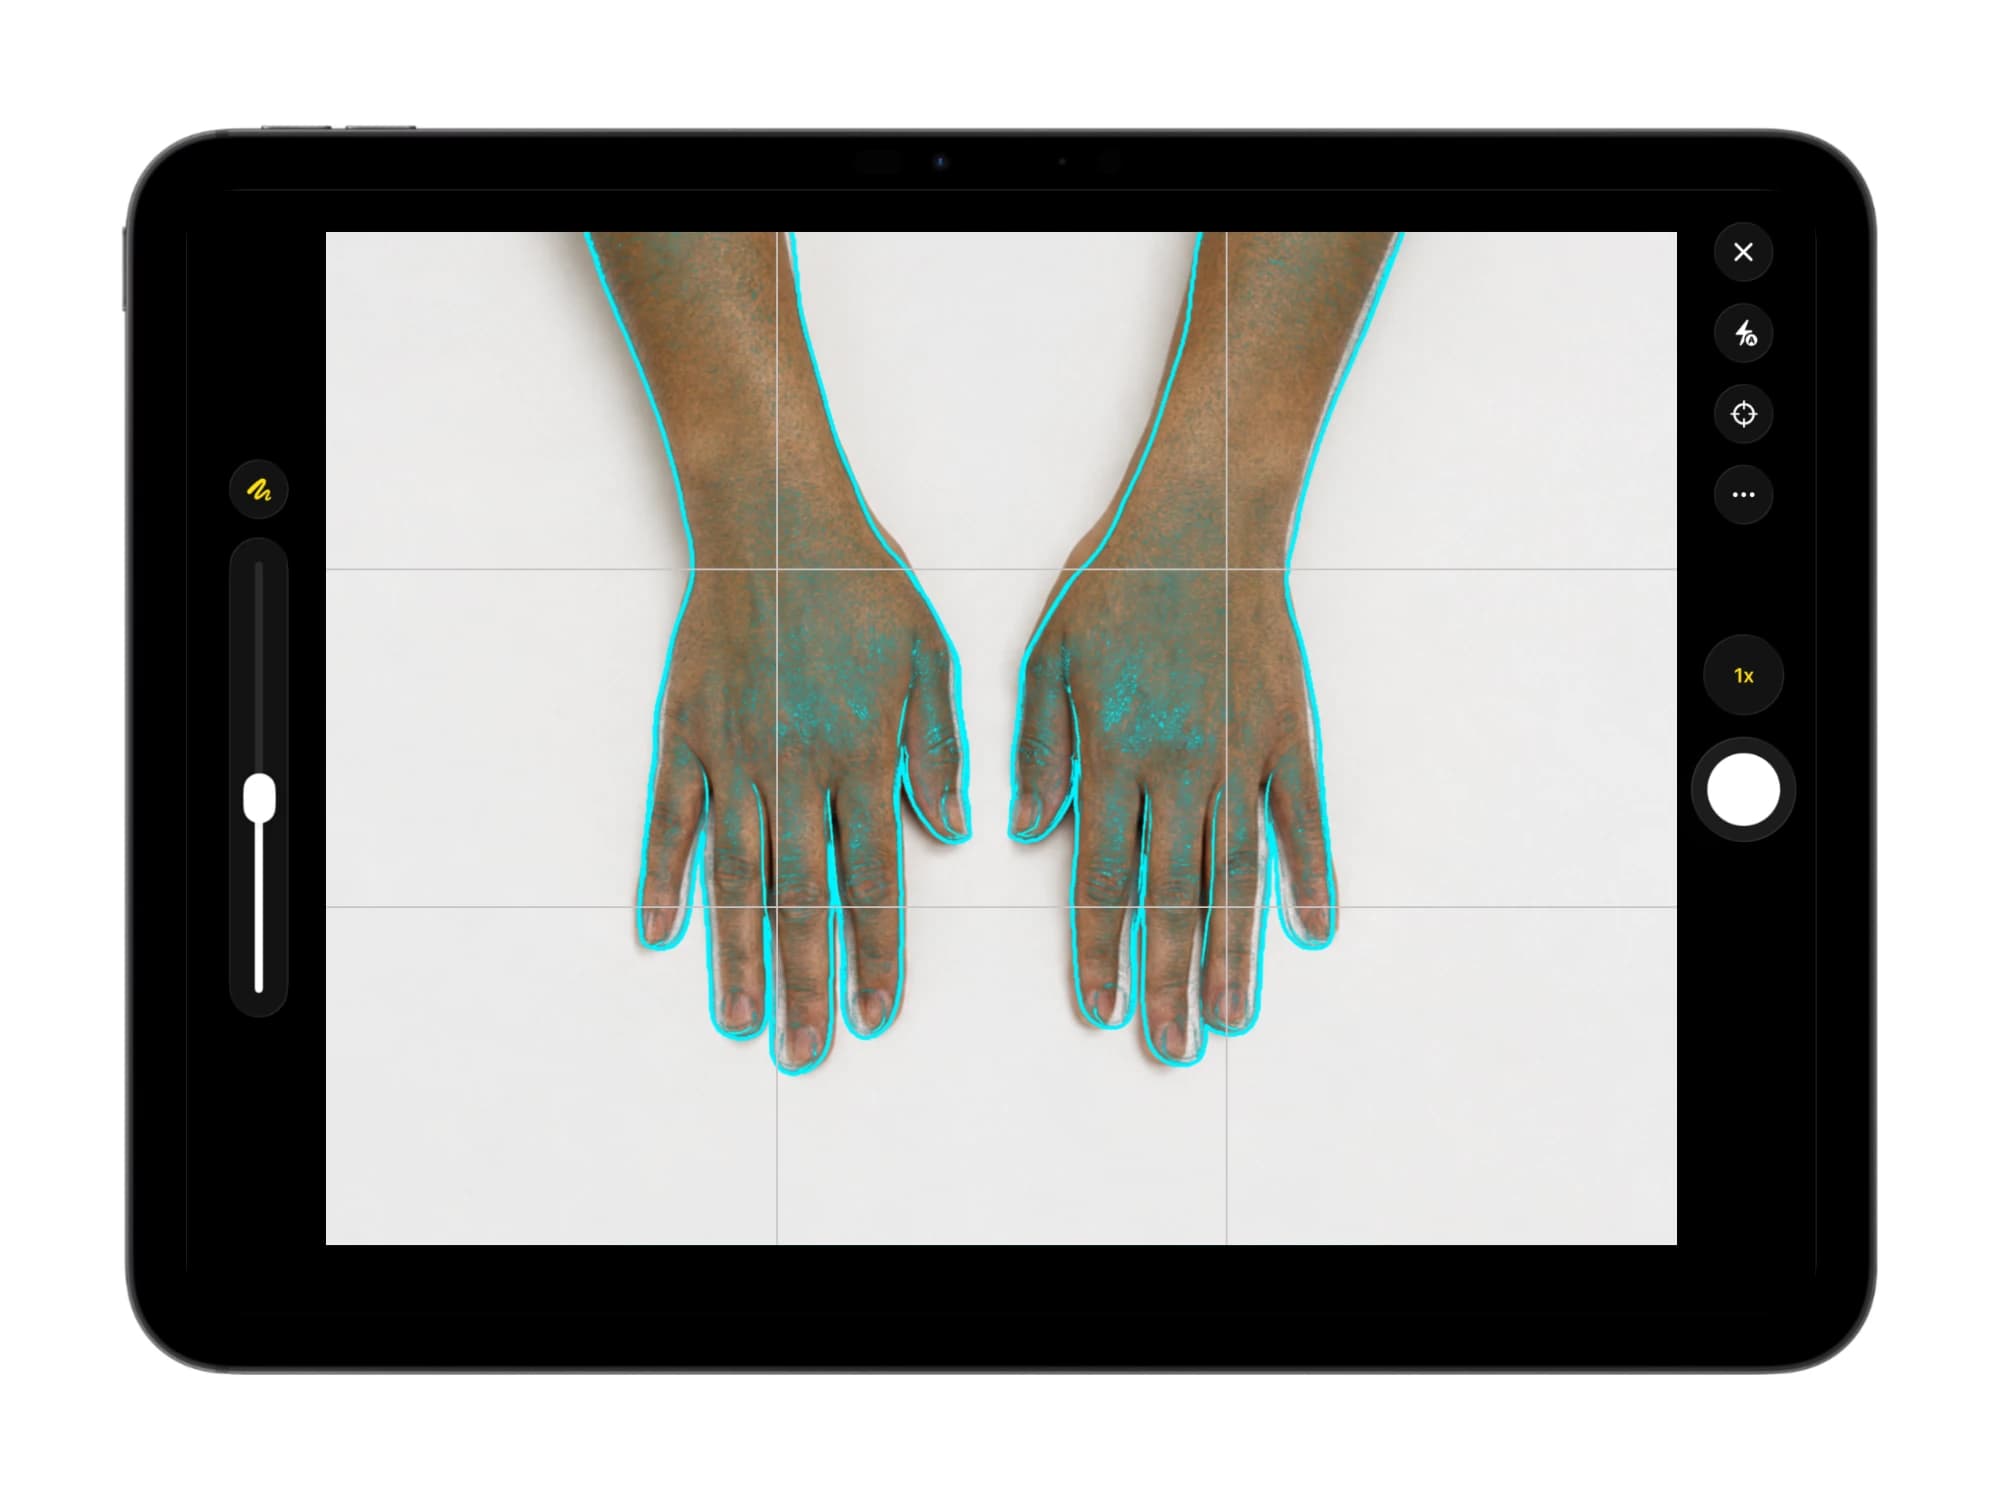
Illustrative demo with synthetic data. Learn more
Controls on the capture screen
Live overlay
The subject outline or the full reference image.
Opacity control
Dial the reference in and out to match the framing.
Tap to focus
Set focus and exposure on the tapped point.
Grid and level
A rule-of-thirds grid and a digital level for angle.
Lens and zoom
Optical and digital zoom across the lenses.
Capture timer
A short timer for steady, hands-free capture.
Shutter buttons
Capture with the hardware buttons for a steady shot.
Low-light cue
Flash is suggested when the scene is too dark.
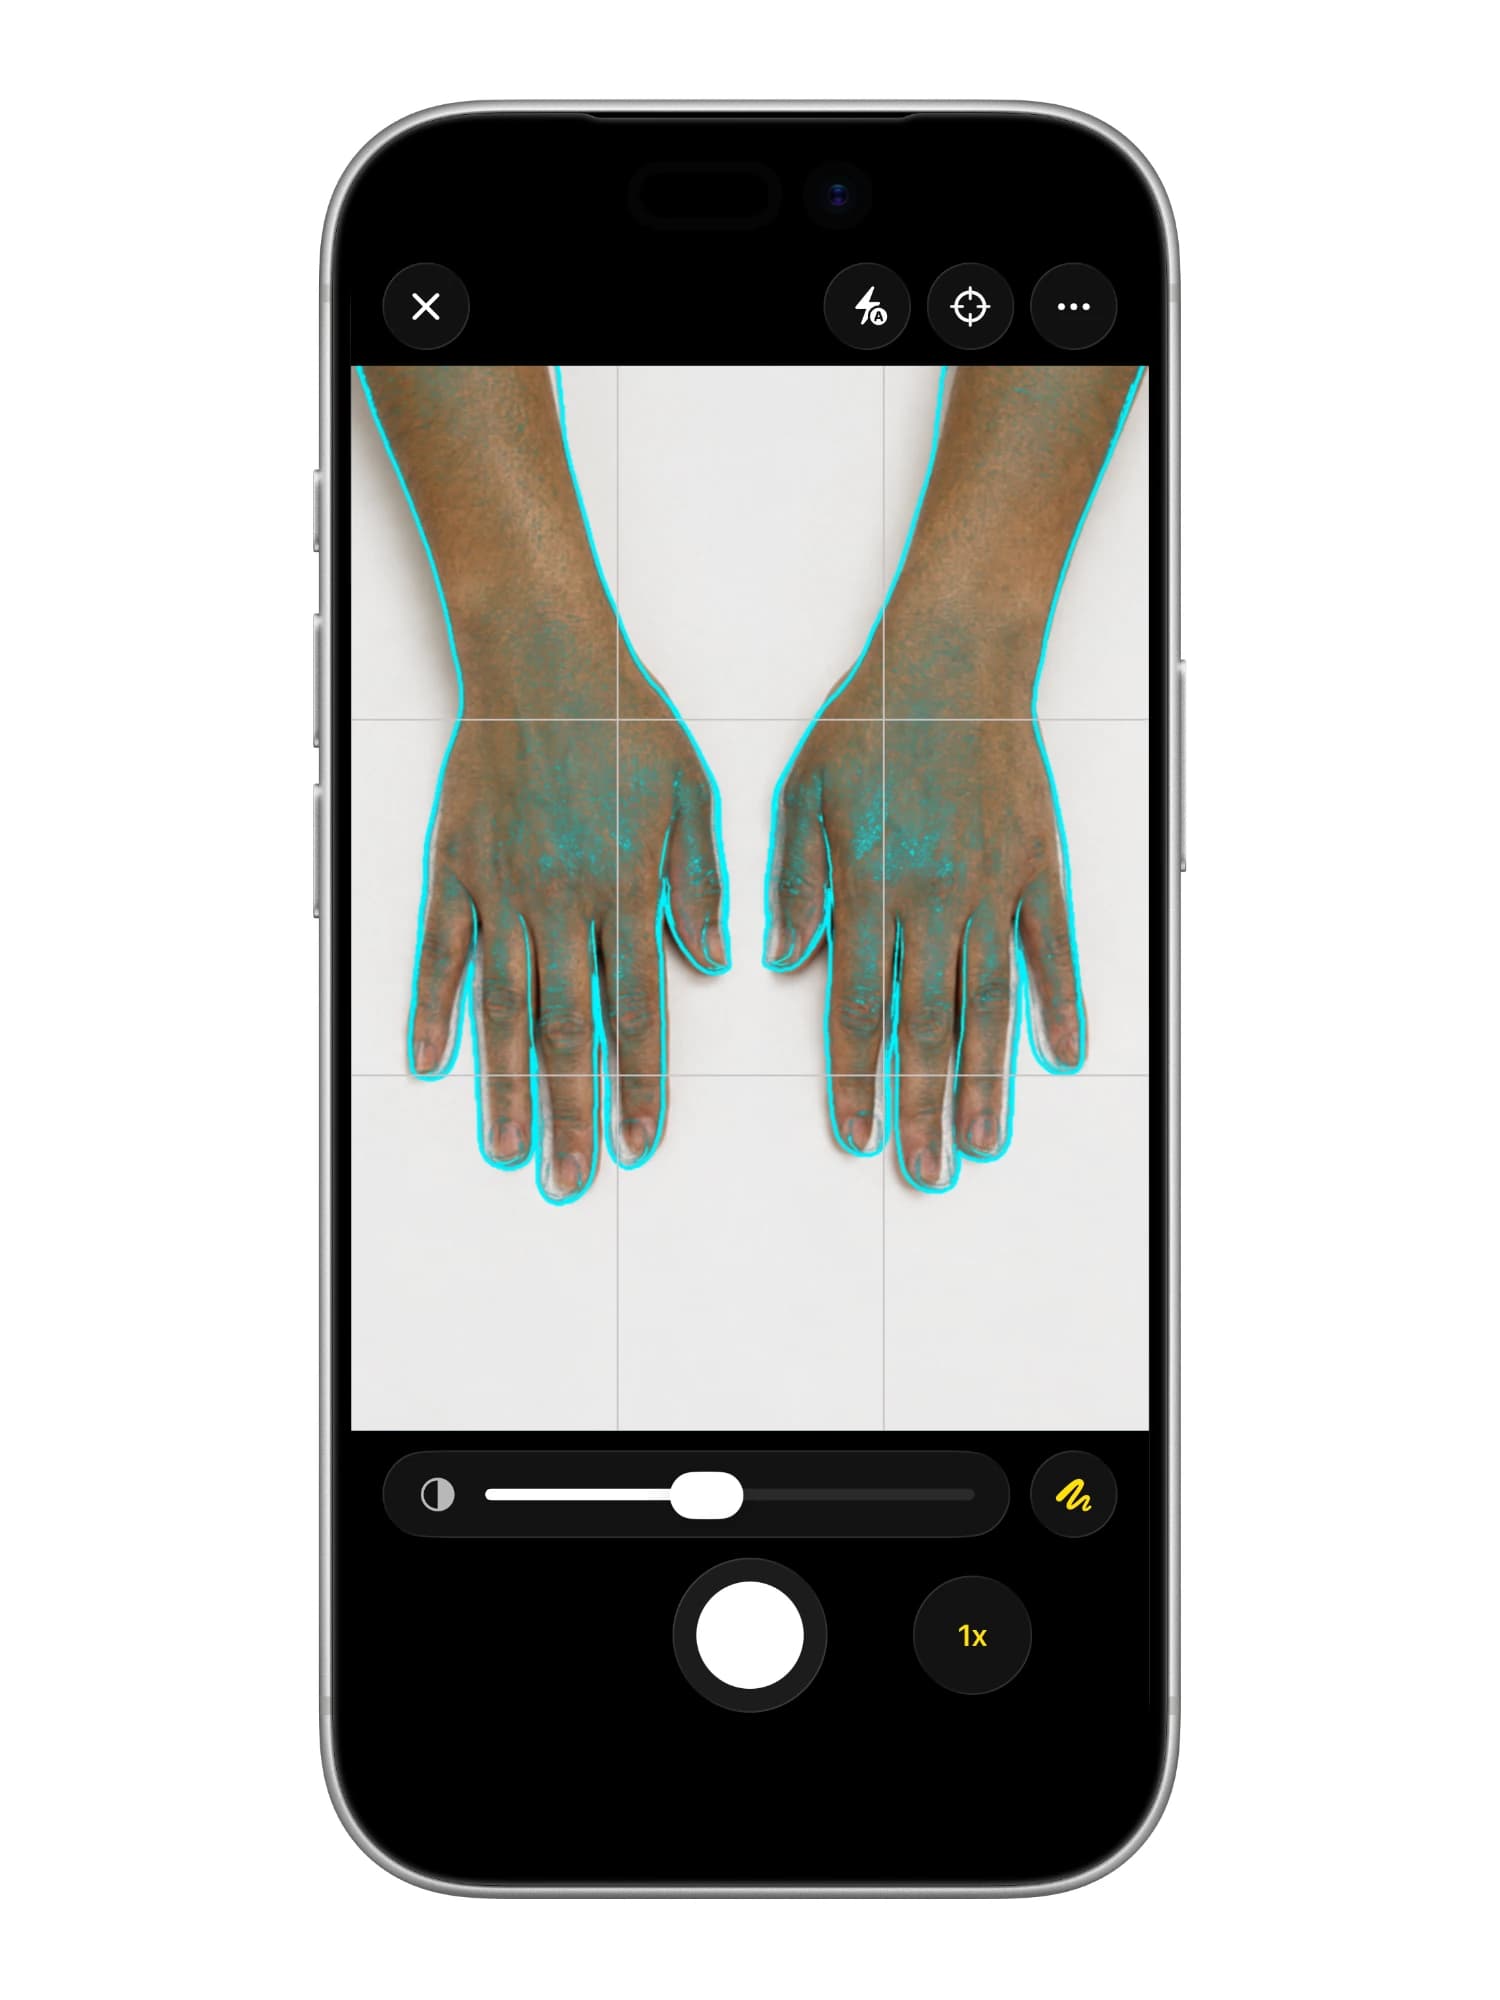
Illustrative demo with synthetic data. Learn more
Servers, status, and the Atlas workspace
Connect to each Atlas server on the local network, plus the built-in Atlas Cloud Demo, and switch between them from the home list.
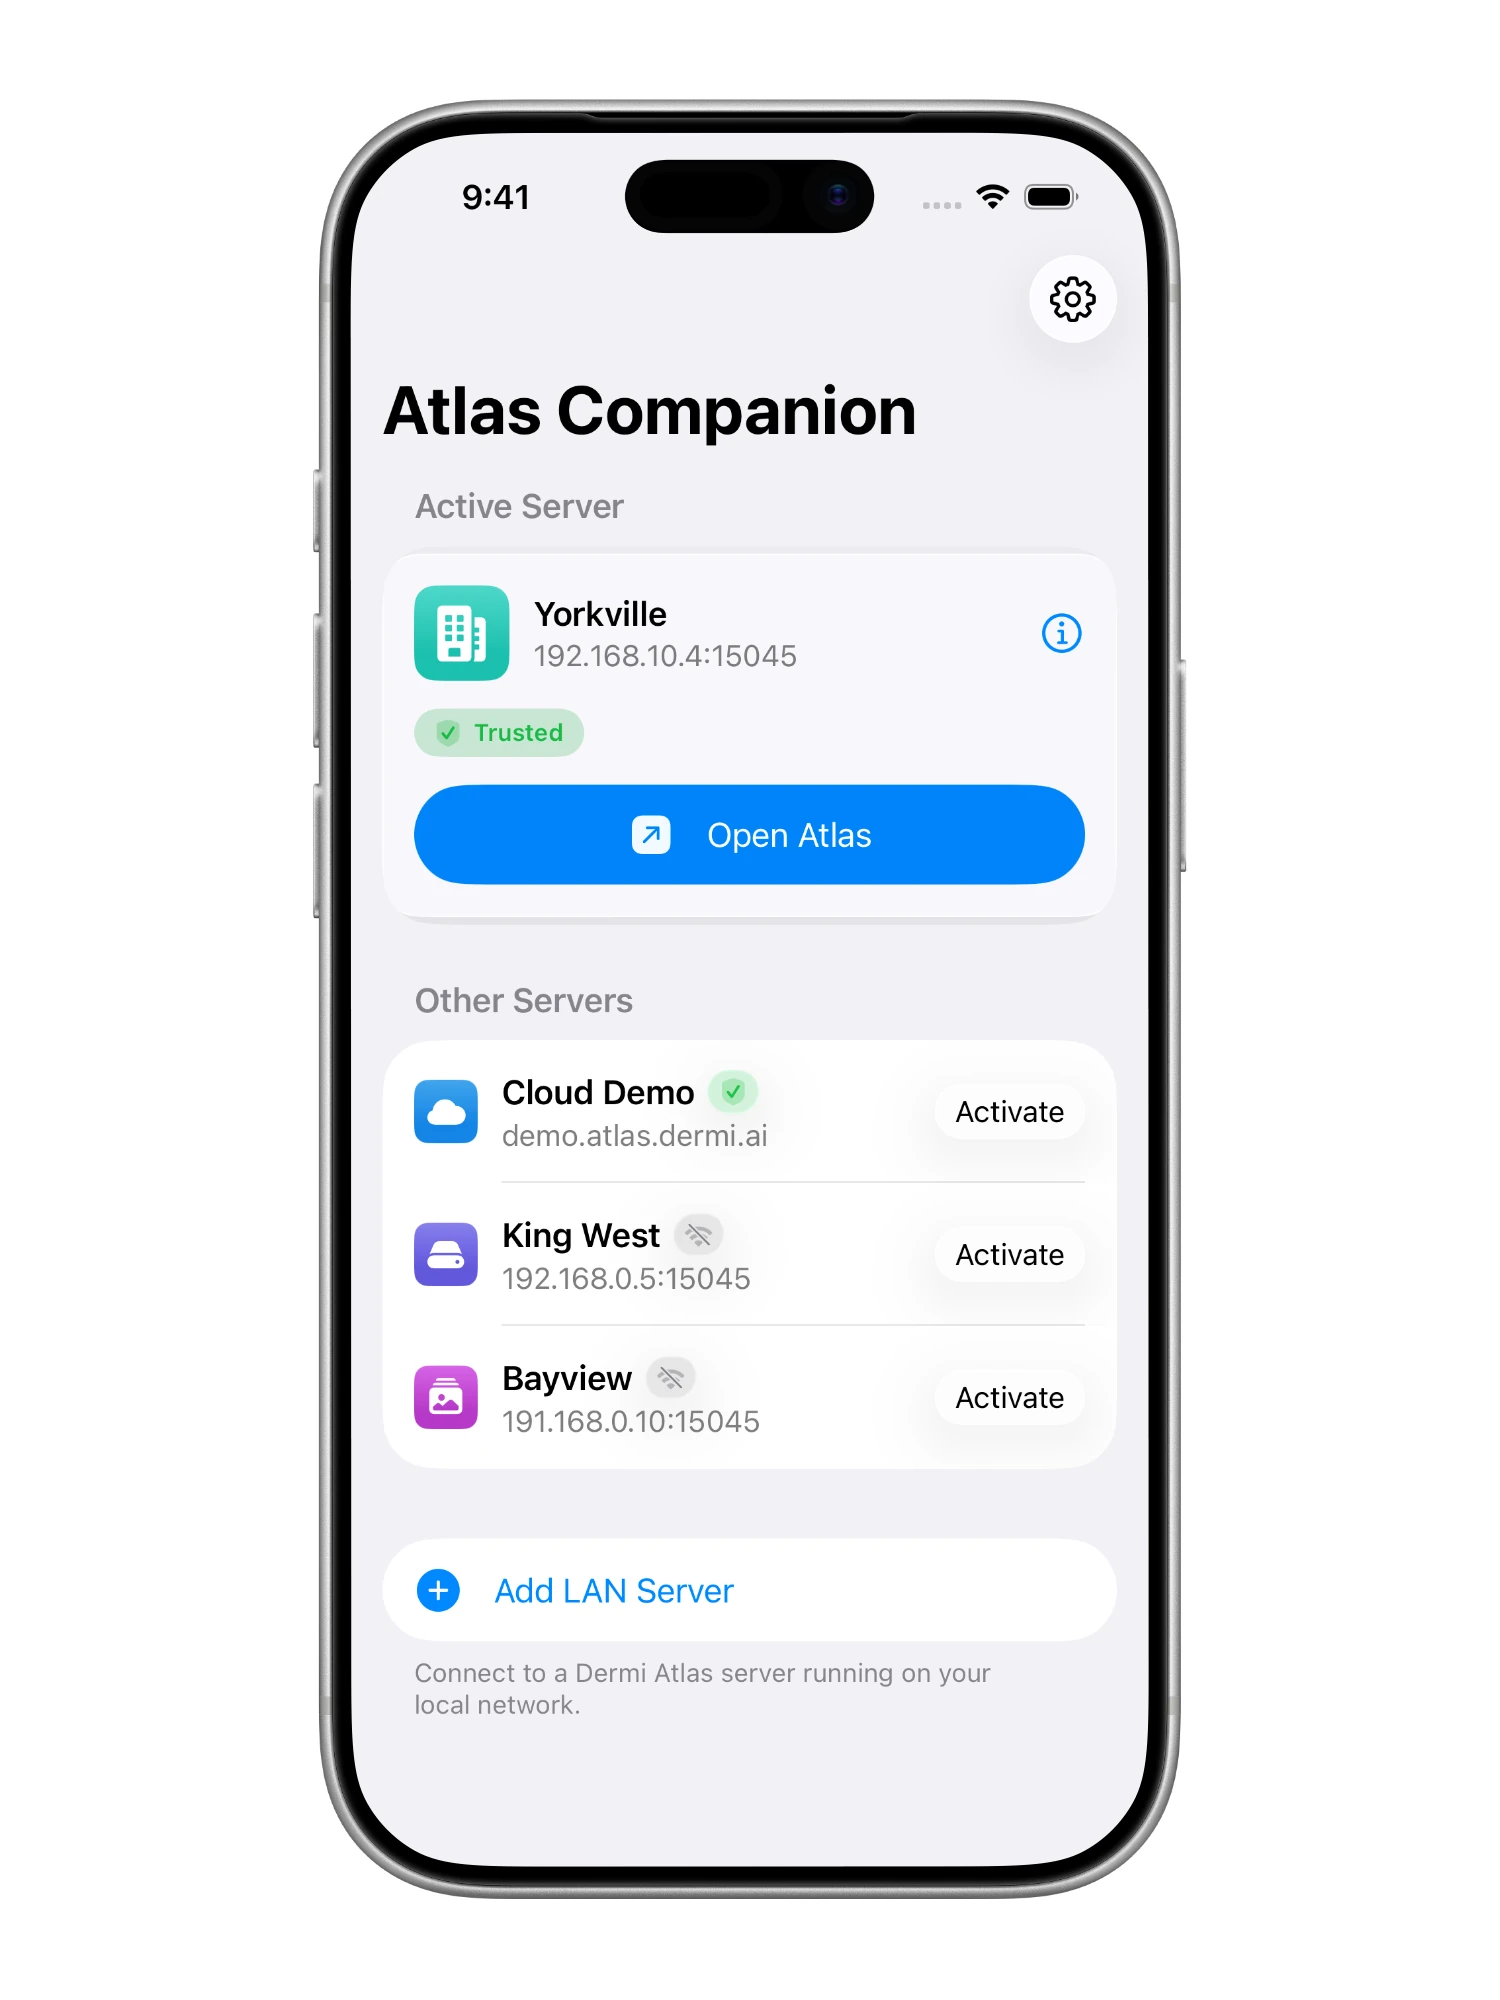
Live reachability badges
See whether each server is trusted, unreachable, or still needs its certificate, and open it with a tap.
The full Atlas workspace
The complete Atlas workspace, with downloads and printing through the share and print panels.
Back to the server list
A three-finger swipe down or a quick shake returns to the home server list at any time.
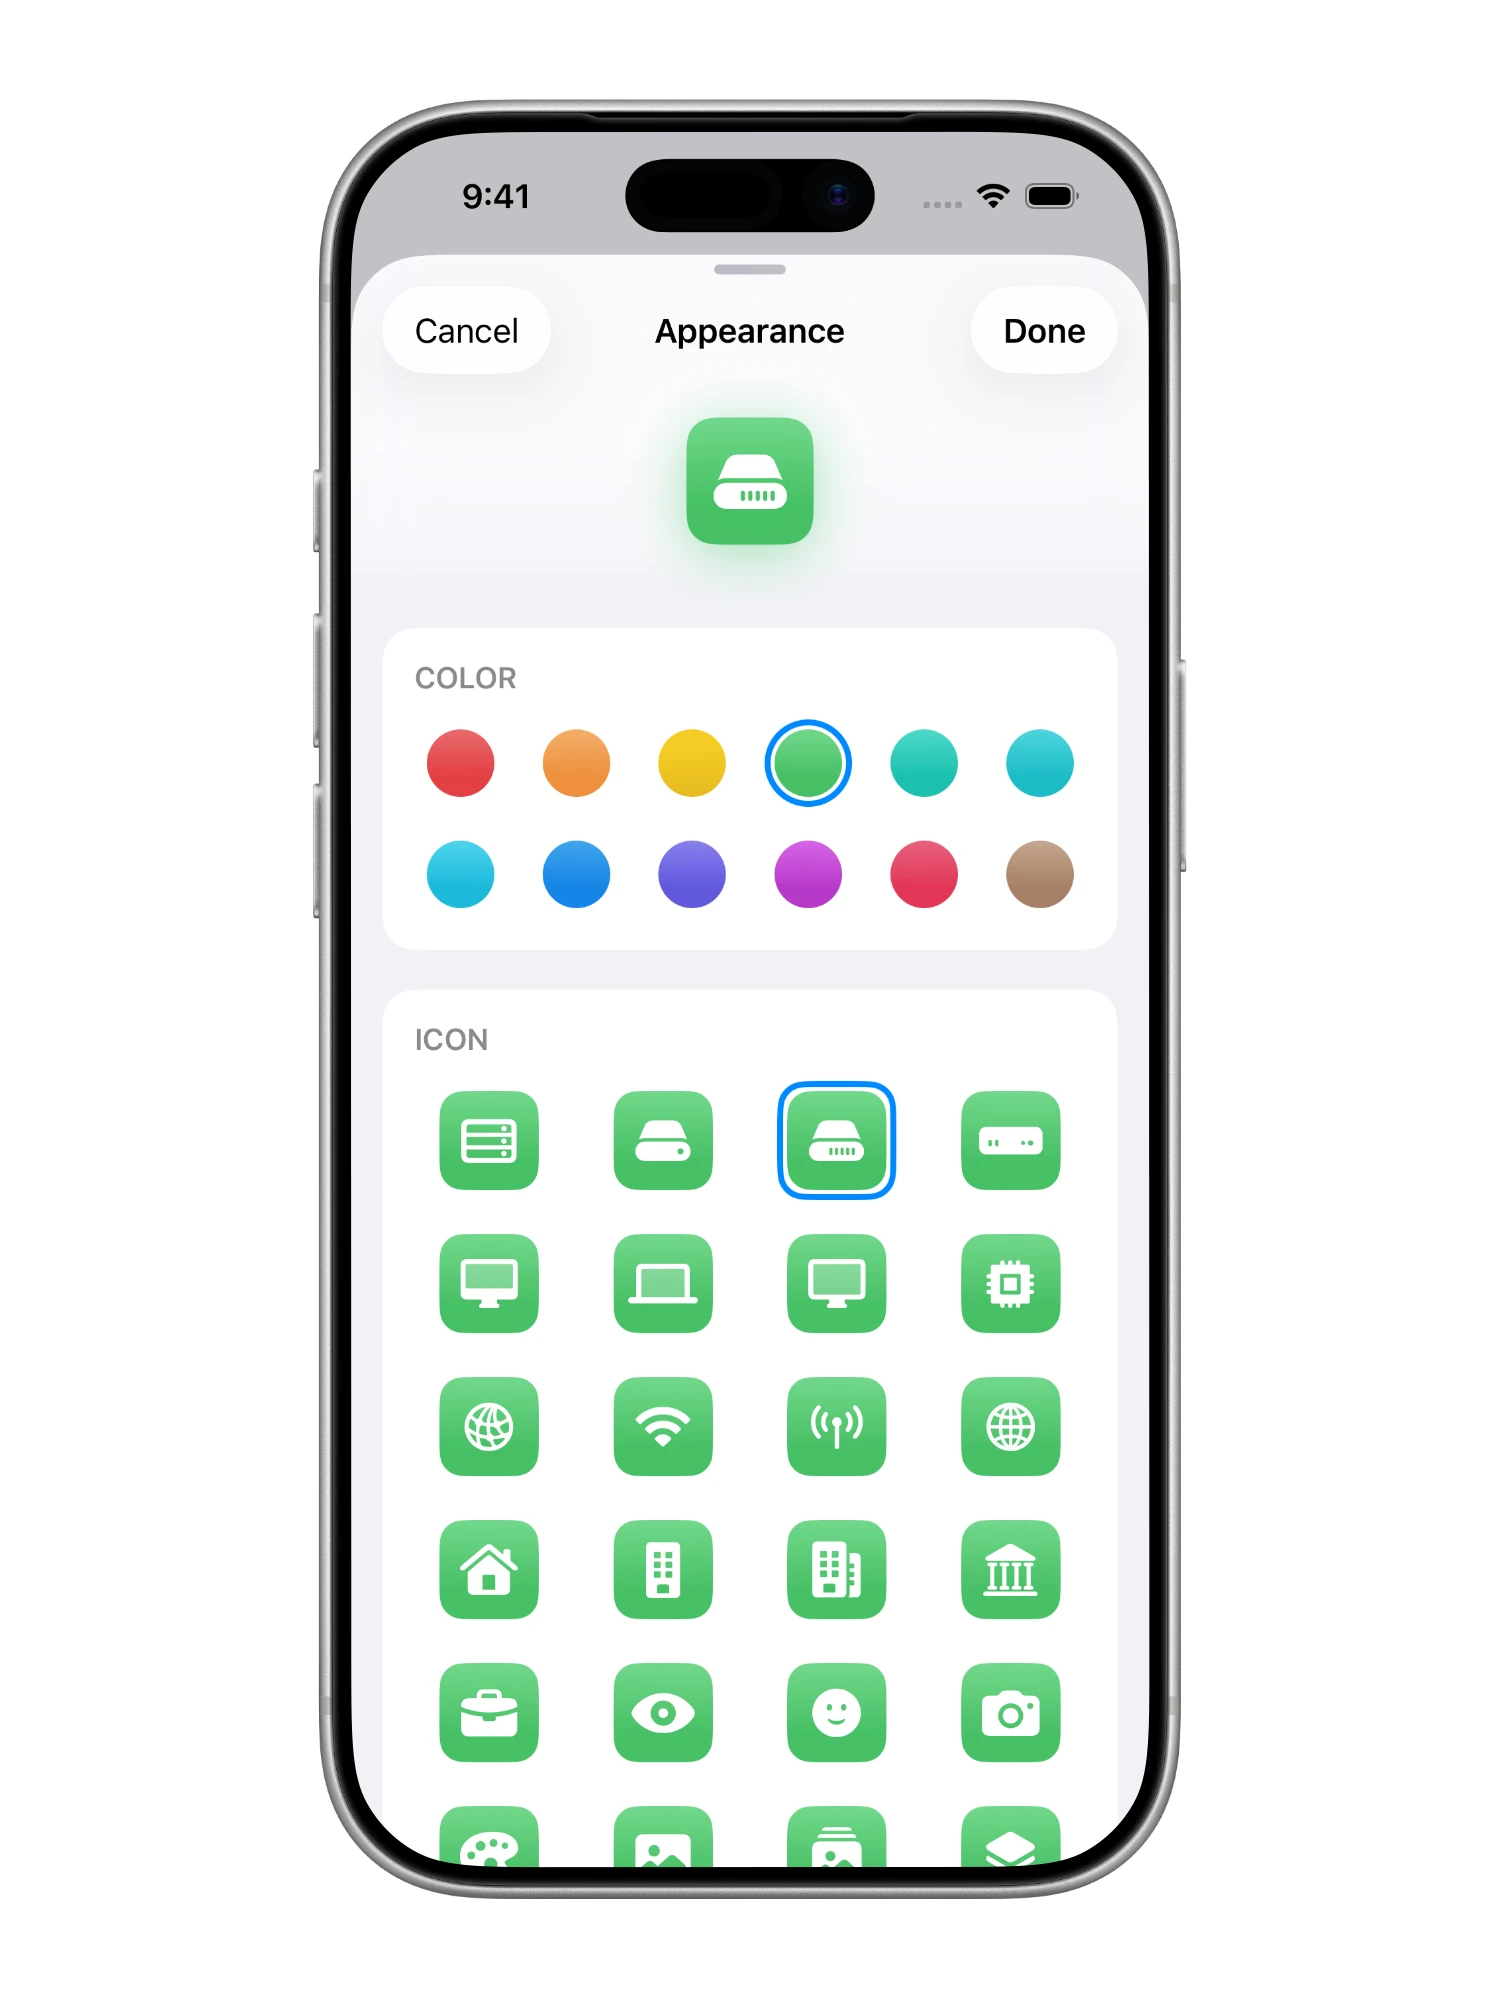
A name, color, and icon for each server
For practices with more than one location, room, or workstation.
- 01
Icons and colors
Choose from a broad set of icons and colors, from buildings and houses to cameras and palettes.
- 02
Automatic colors
A new server gets the least-used color automatically, so the list stays readable as it grows.
- 03
Same look everywhere
The same appearance follows the server through the home list and its detail view.
Pairing, fingerprint check, and pinned HTTPS
Over HTTPS, the app trusts only the server it was paired with.
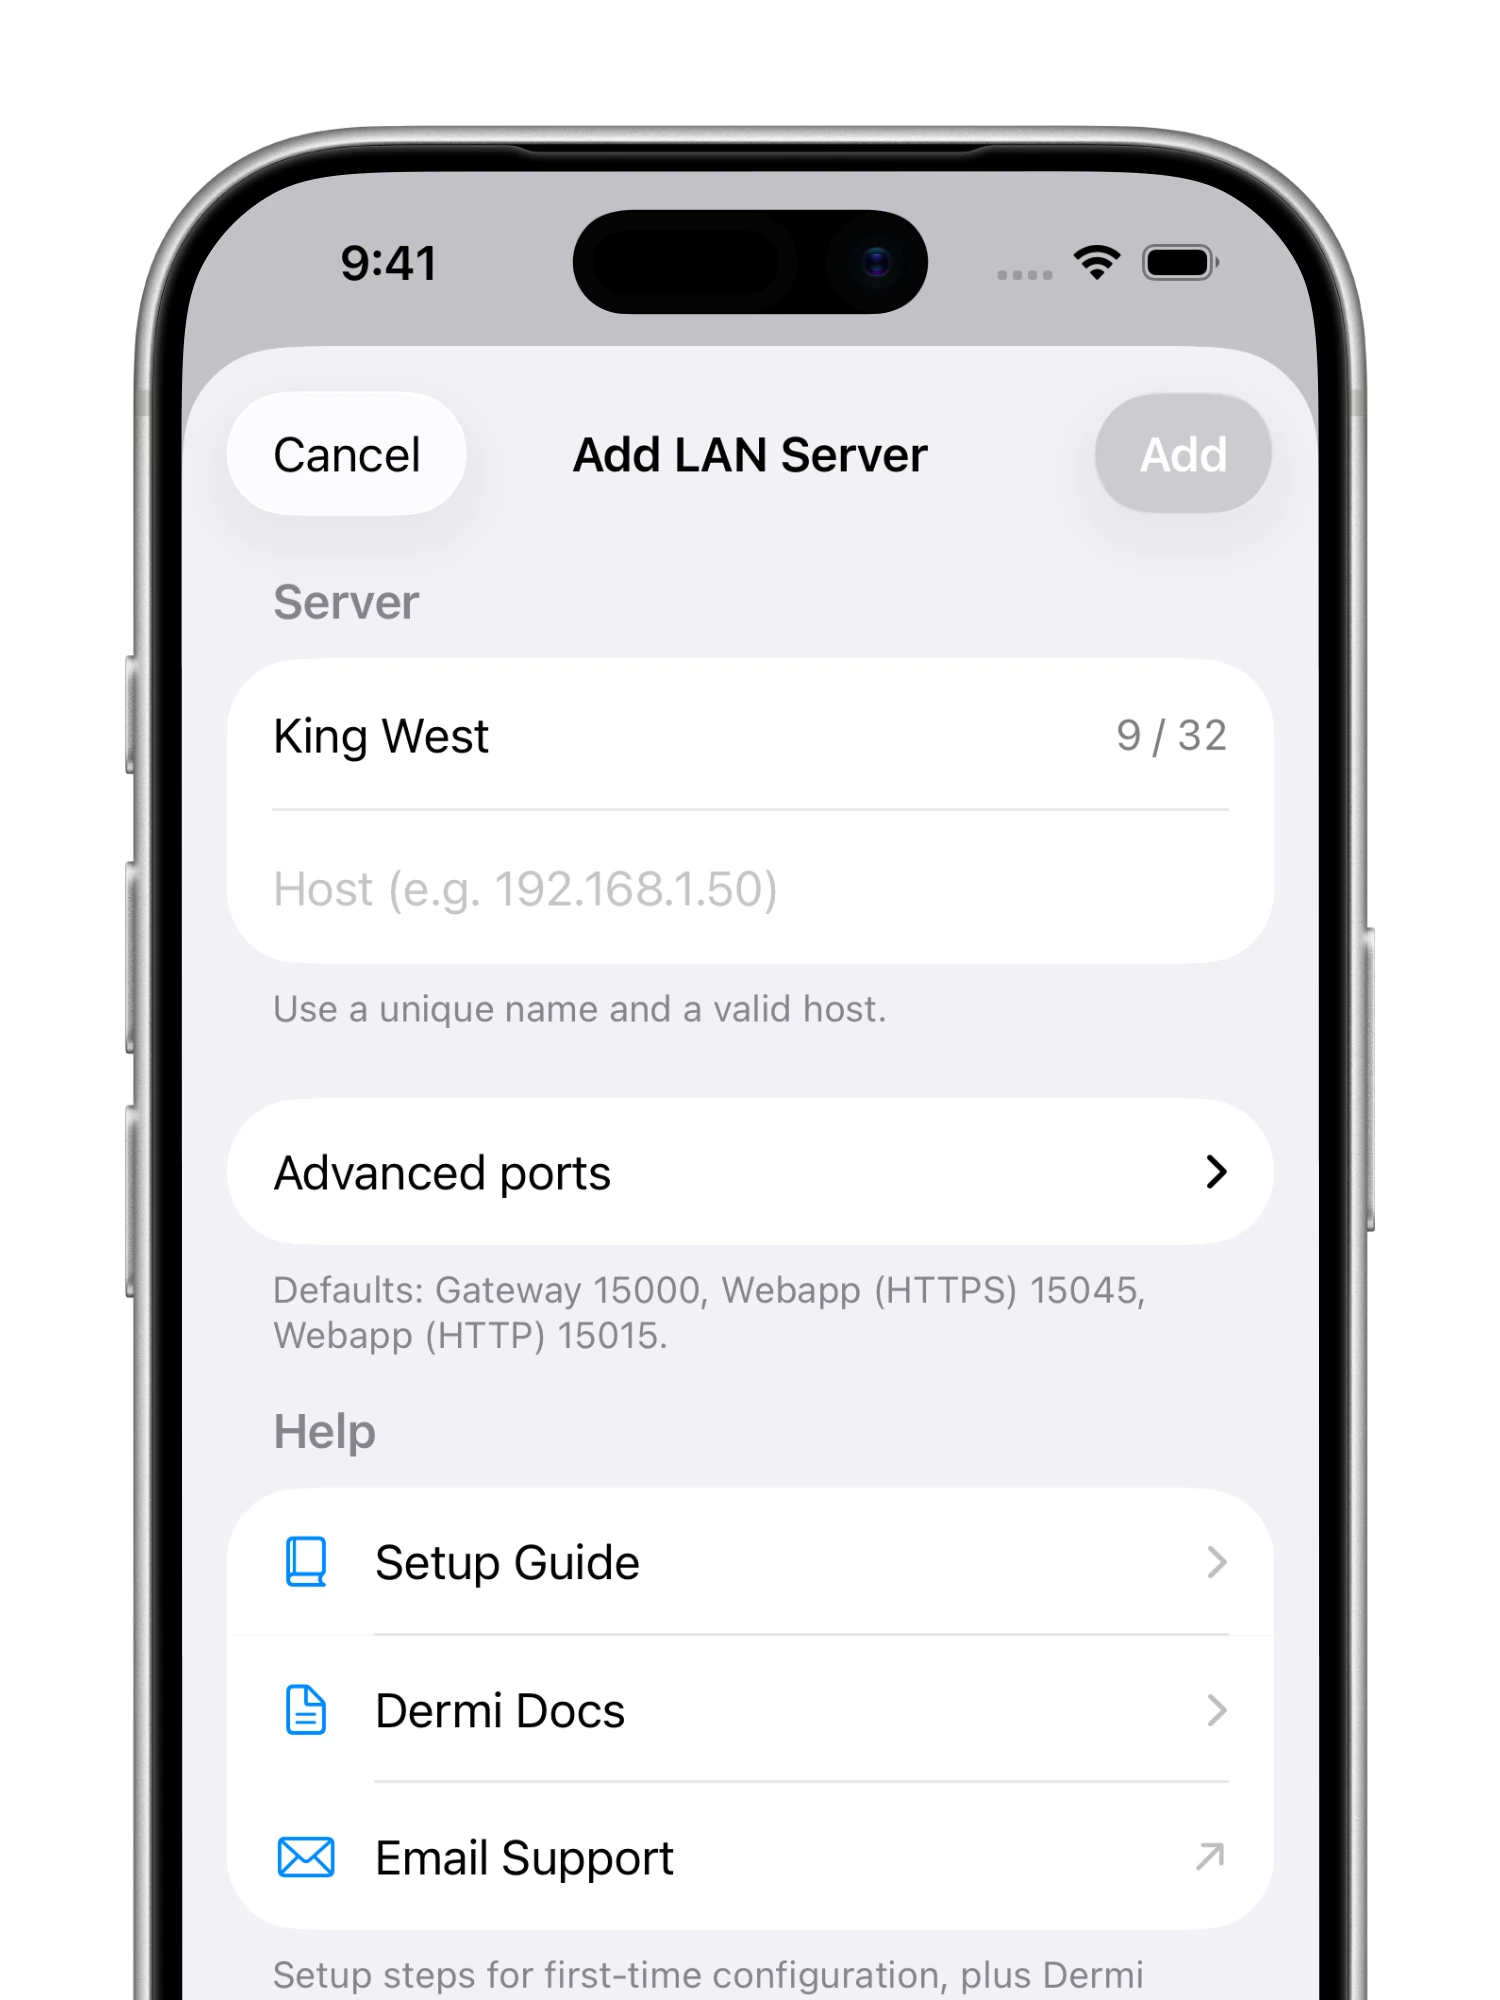
Pair each server
Add a server with a name and its host, such as the computer's IP address. Advanced ports cover nonstandard deployments.
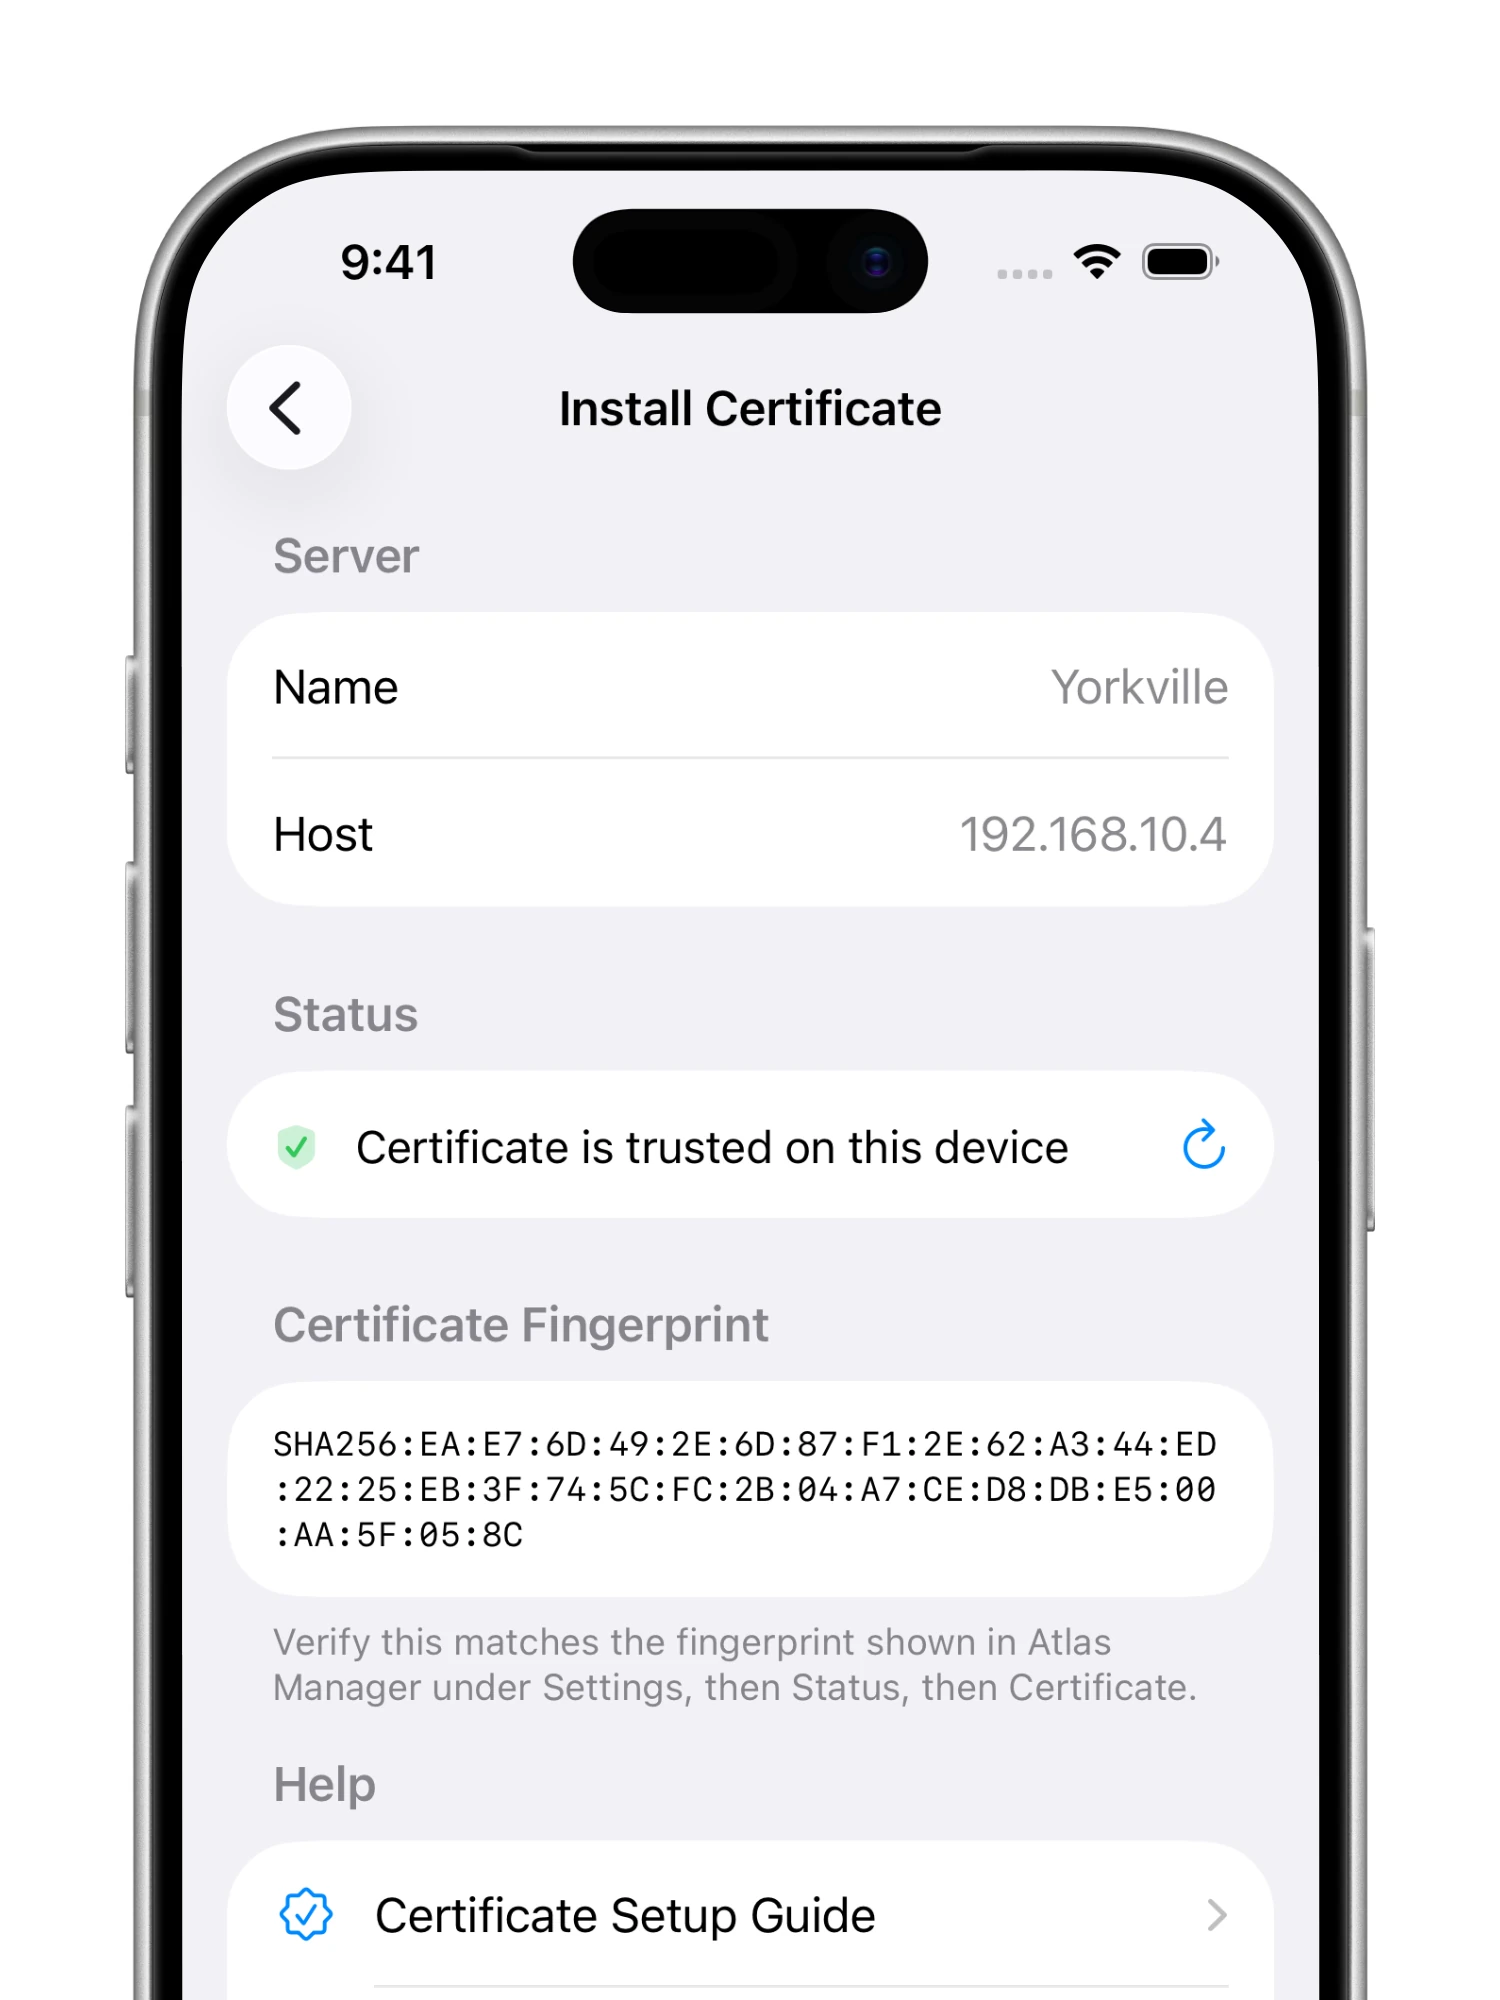
Verify the fingerprint
Install the certificate with step-by-step guidance and match the SHA-256 fingerprint shown in Atlas Manager.
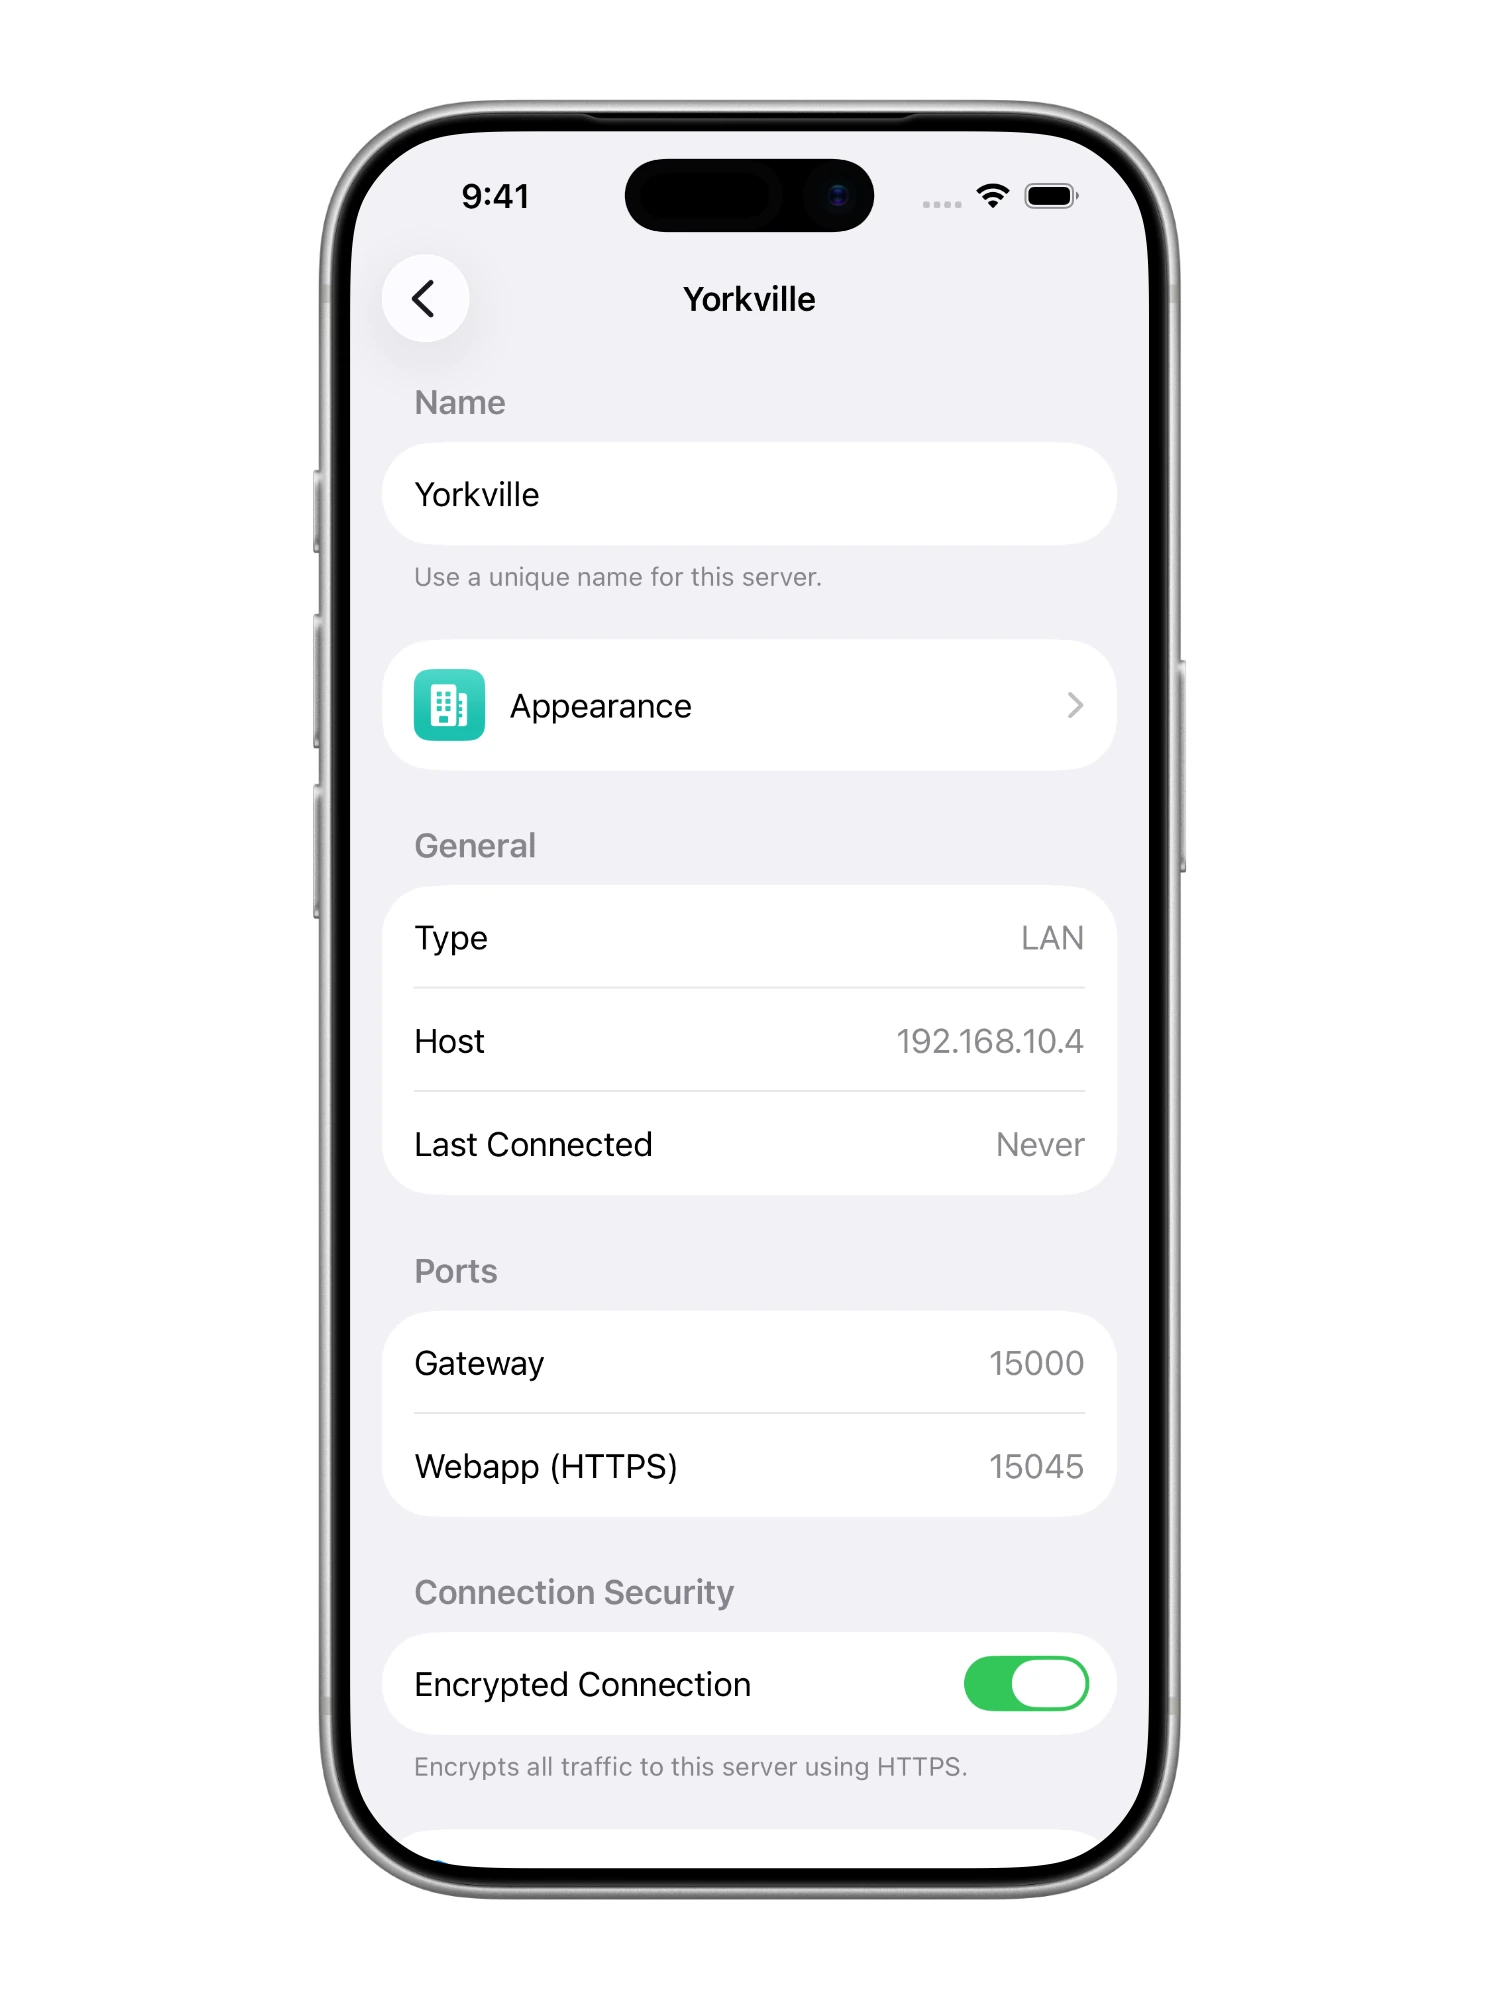
Review the connection
Review every server detail in one place, from host and ports to the connection setting that switches between HTTPS and HTTP.
New certificates flagged
A server with a new certificate shows Cert Changed until the new one is installed.
Isolated per server
Each server keeps its own session and data, so locations never share state.
Layouts for iPhone and iPad
For iPhone and iPad on iOS 26 or later. Server setup has a sidebar and detail pane on iPad, and the Atlas workspace runs full screen on both.
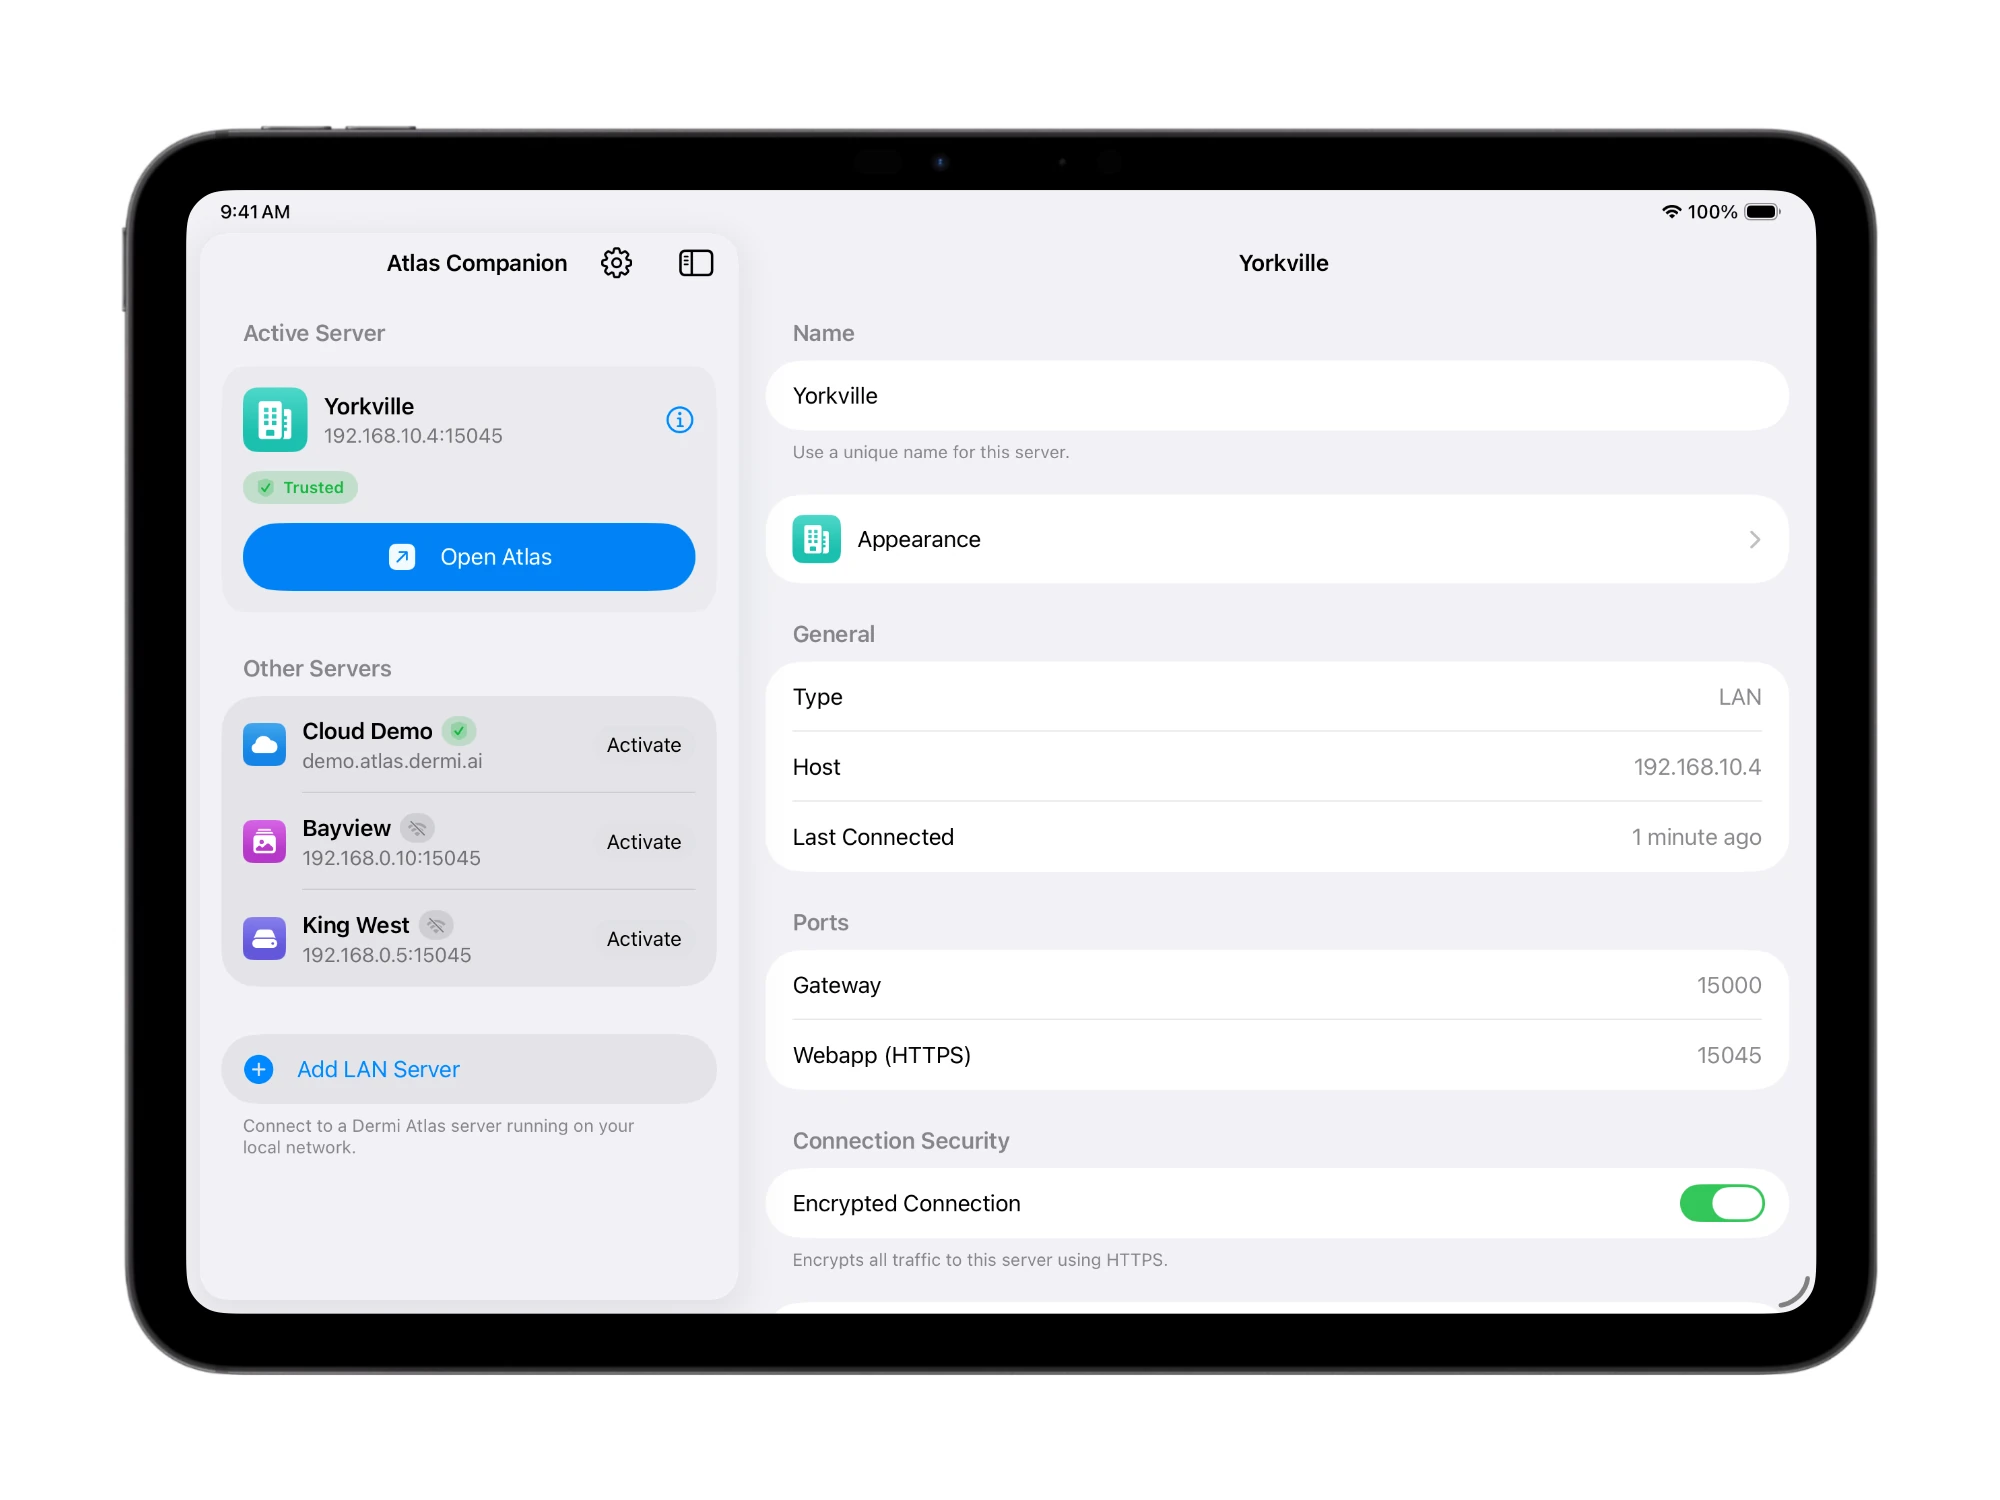
On iPad
A sidebar of servers beside a detail pane, with the full configuration in view.
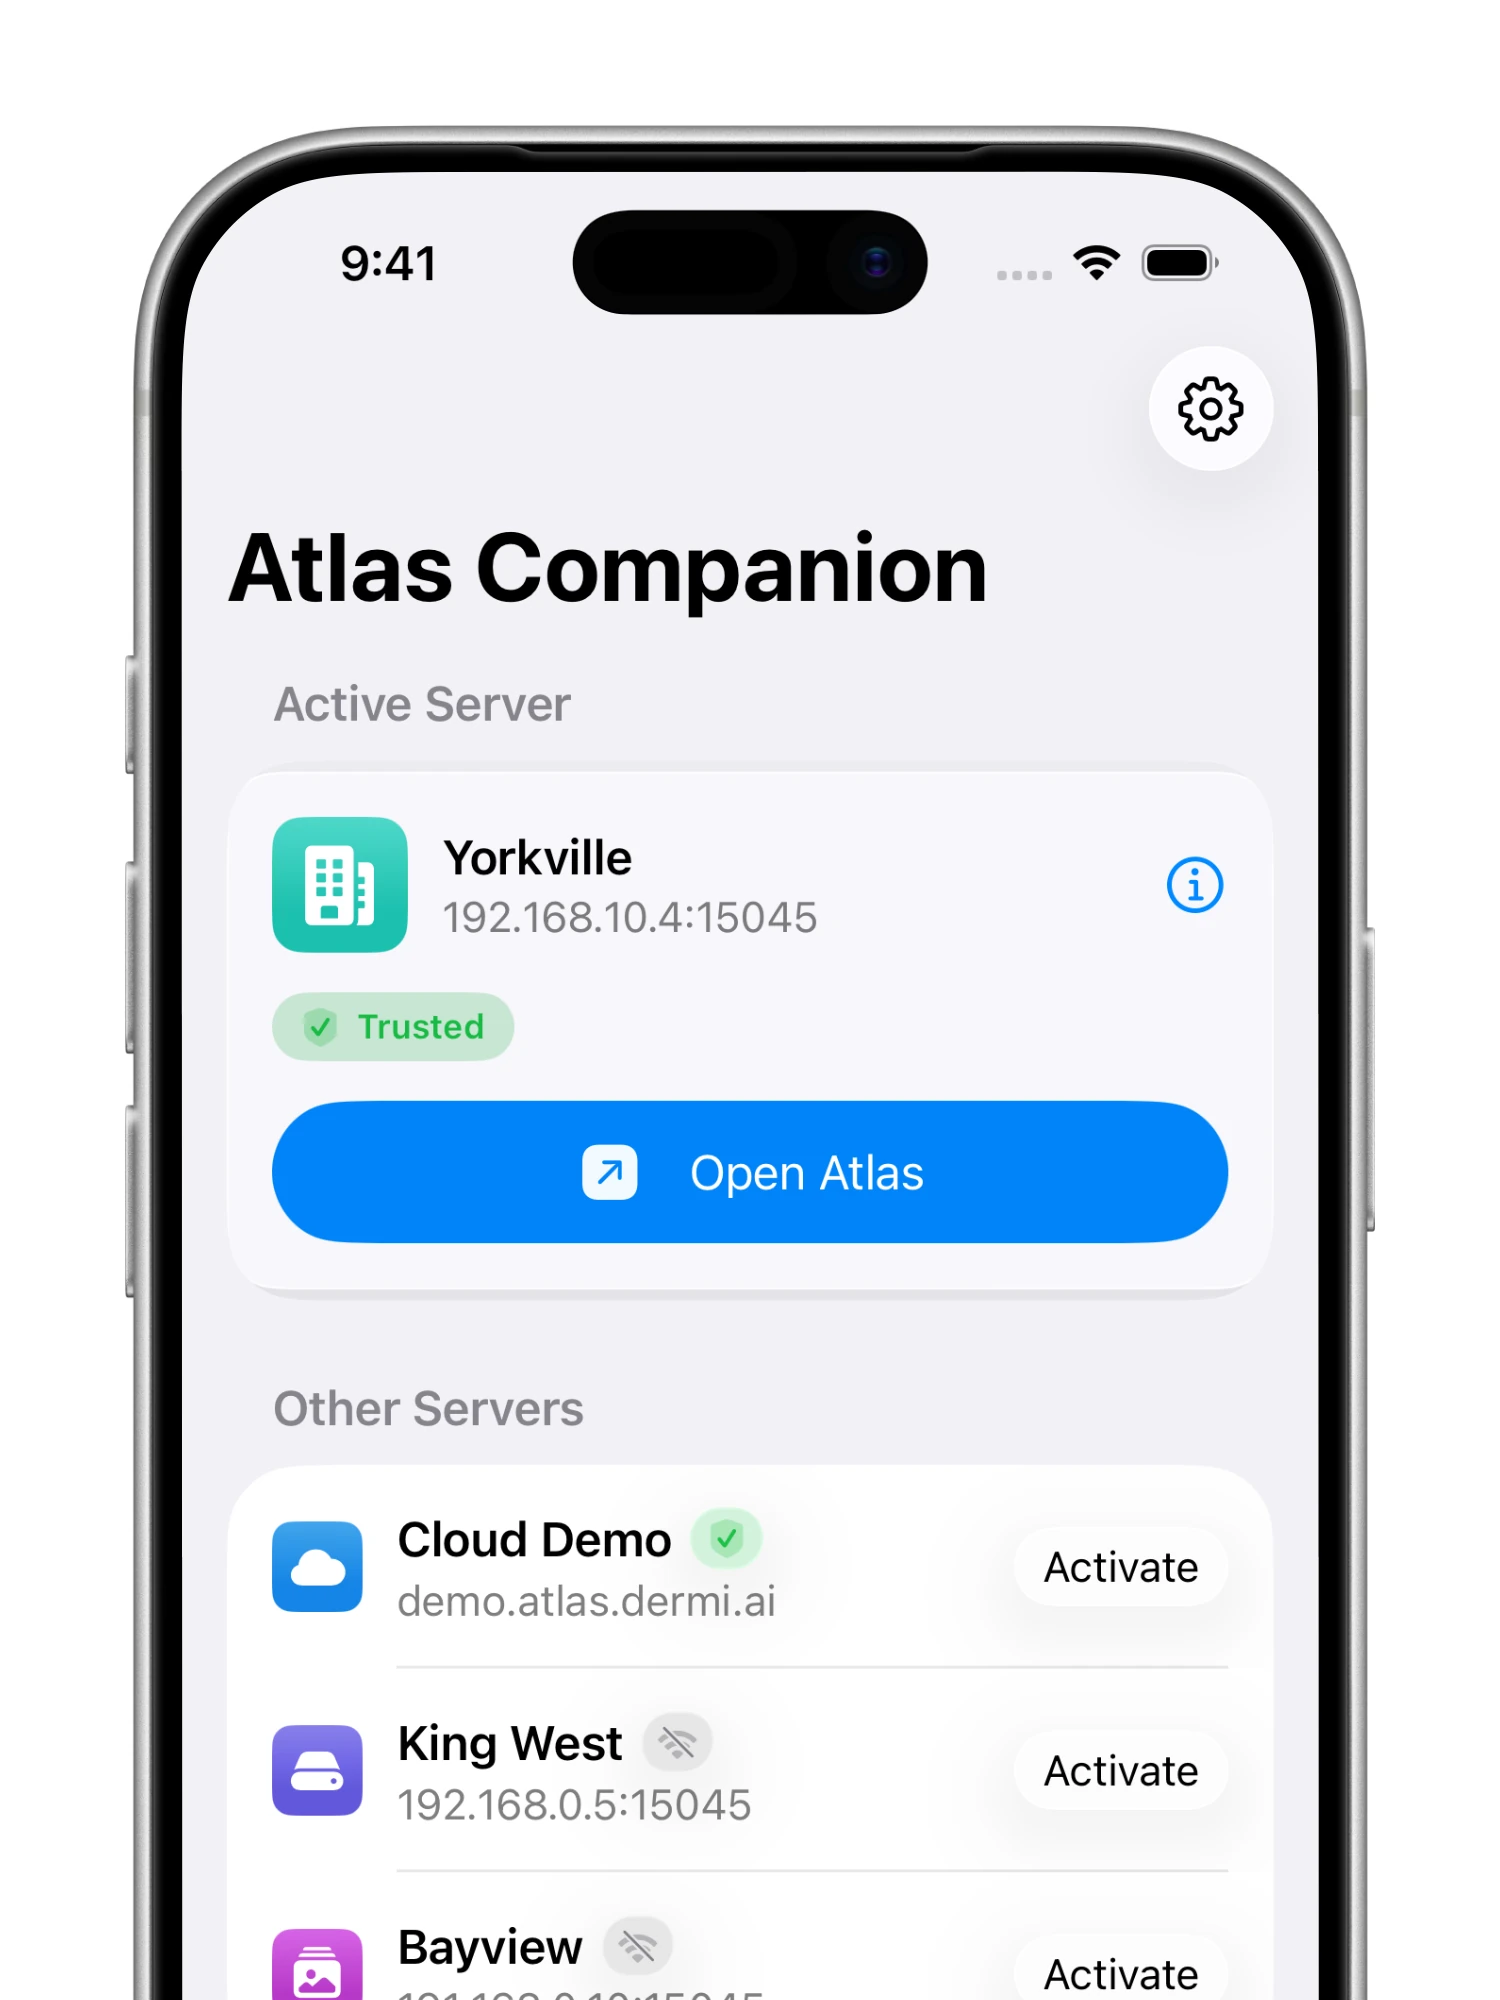
On iPhone
A focused, one-handed flow for switching servers and opening Atlas.
Frequently asked questions
Common questions about Atlas Companion for iPhone and iPad.
Yes. Atlas Companion is free to download on the App Store in the United States, Canada, and Australia, with no in-app purchases and no subscription. It works with a Dermi Atlas Professional server at no additional cost.
A Dermi Atlas Professional server on the practice network is the main way to use it; team members sign in with their own Atlas login. The built-in Atlas Cloud Demo signs in with a free Dermi Cloud Services account and is not for real patient data.
No. Atlas Companion captures photographs for Dermi Atlas, a clinical documentation platform; it does not make diagnoses. Every clinical assessment is made and recorded by the clinician. The formal classification statement is in the Terms of Service.
Download Atlas Companion

Available on the App Store in the United States, Canada, and Australia.
Synthetic Data Notice
All demonstrations, screenshots, and media on this page use synthetic data only. No real patient information is shown.
The following are synthetic and do not correspond to real patients:
- All human faces and individuals are synthetic and do not represent real people
- All clinical and medical images, including photographs and scans, are synthetic or simulated
- All patient names, dates, identifiers, and other details are fictional
- All clinical notes and documentation are sample content for demonstration only
Media is provided solely to illustrate platform functionality and workflows.